Opening up the hull
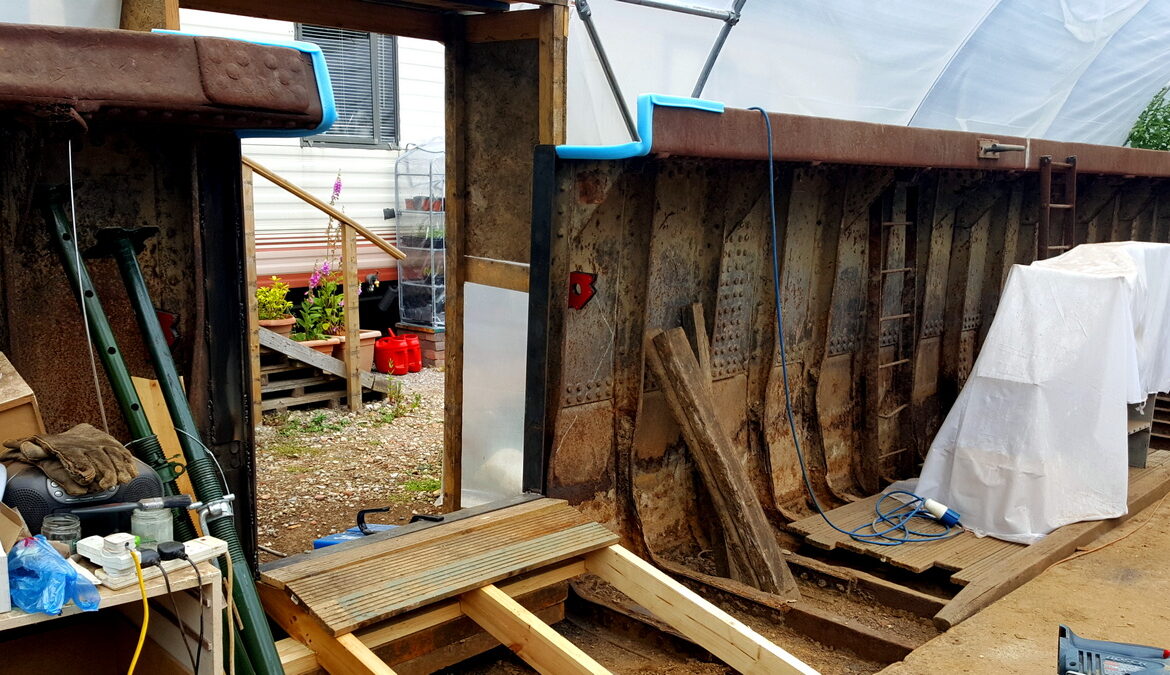
Cutting out the first access door in the side of the barge
With all of the steel we’ve been cutting out, inside the barge, alongside the piles of dirt that we’ve been digging out of the bottom there has been a growing problem around usable space. If you’ve seen any of our videos on YouTube you’ll see how the access to the inside of the barge involves going up and down a number of ladders, together with walking around on the deck whilst being bent double – grim at the best of times and a real barrier to the easy removal of heavy materials.
With the completion of our full technical drawings and gaining a rib-by-rib knowledge of the structure we decided that it was time to open up the hull to give us some direct access to the inside of the barge and really move things forward. The location and size of the eventual french doors would make the ideal access point – good for easy removal of rubbish and closest point to our caravan so good to nip into during rubbish weather, etc.
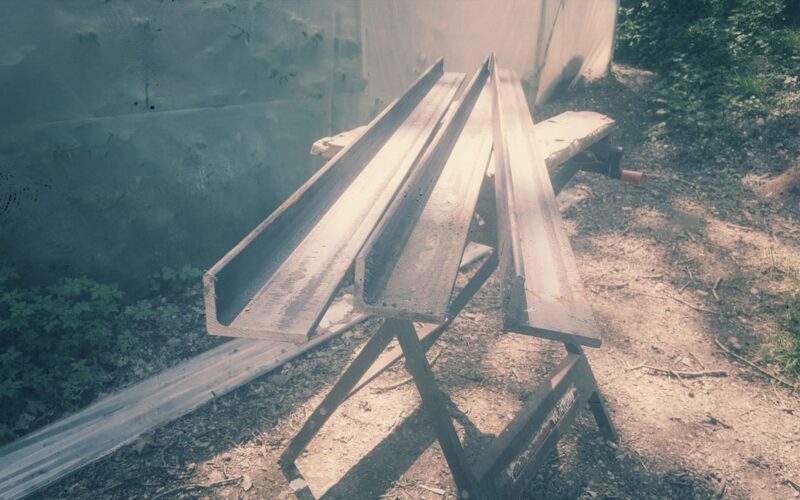
Although the openings in the hull will all, eventually, be fully strengthened to our engineer’s calculations, for the time being we followed the tried and tested ‘engine removal’ technique. This was employed on steel barges which were powered (rather than an un-powered ‘lighter’ like ours) – instead of removing a broken engine out of the top of the deck they would cut a hole in the side, strengthen it, and take the motor out that way. To this end we duly ordered up a pile of 8mm steel and set to work.
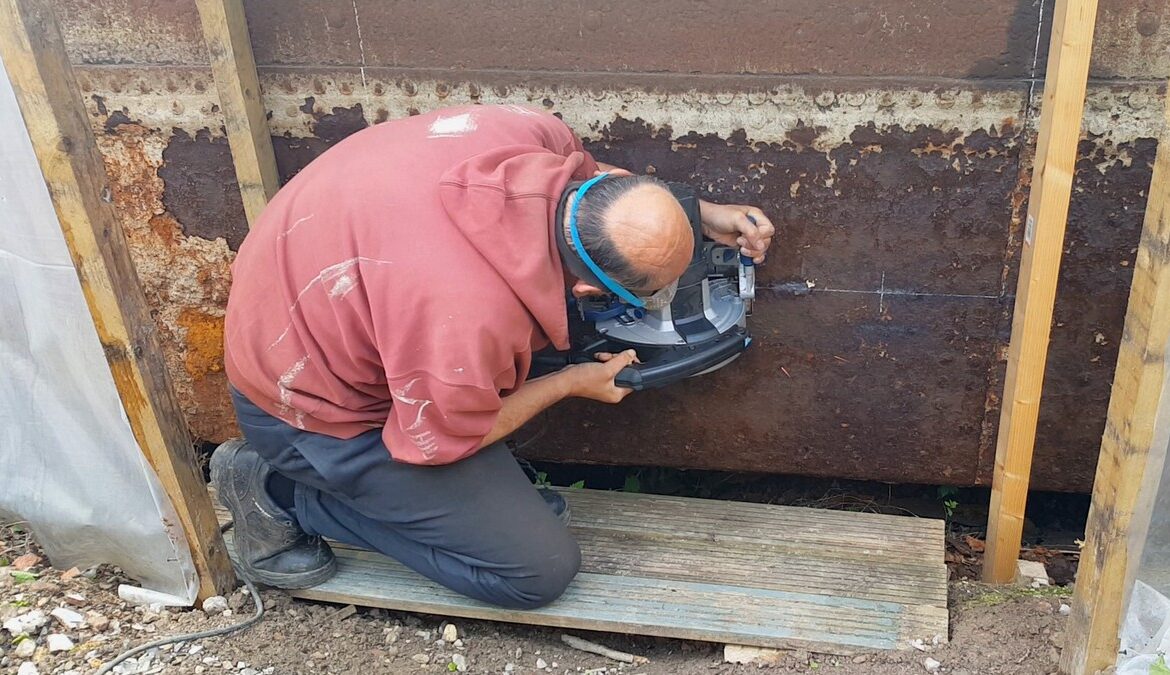
With the door area duly marked up we initially welded strengthening angled steel around the proposed opening before getting stuck in with the power tools. As previously discovered with the removal of the bulkheads, the occasionally rusted-through hole was no real indicator of the condition of things with most of the cutting being through full-thickness material. This wasn’t helped by the areas of over-lapping steel components giving some weighty inch and a half sections to get through.
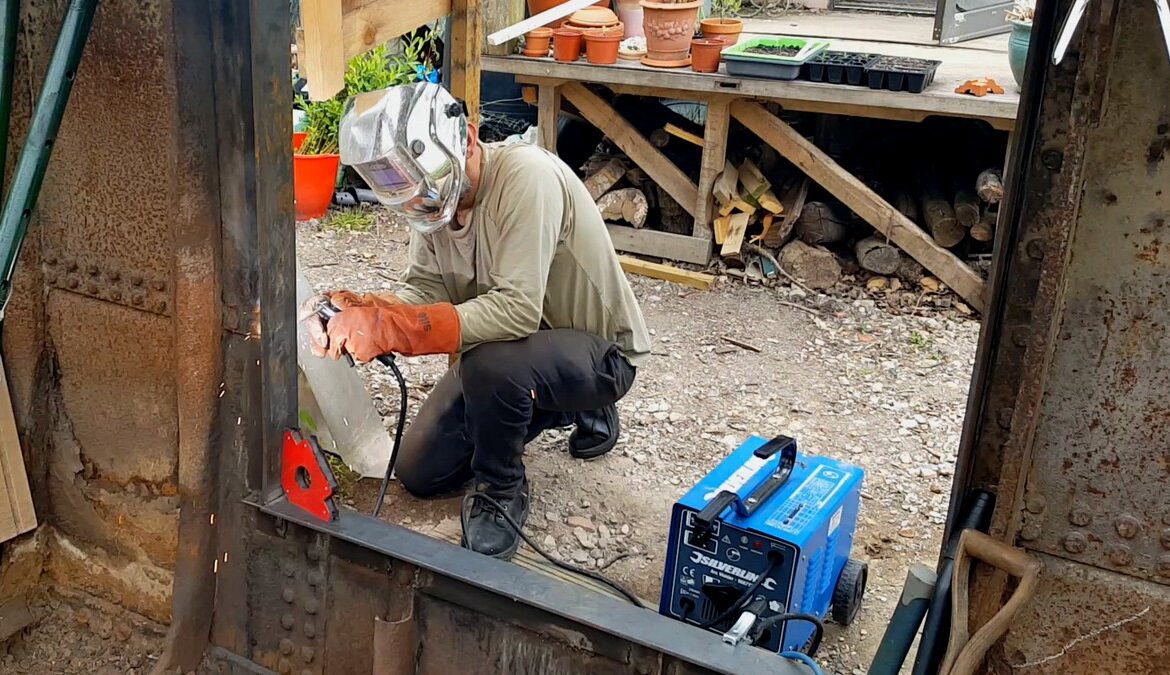
We cut out separate areas at a time so we could weld in more strengthening material as we went, rather than just taking out the doorway and leaving the barge to go all floppy (technical term). New plate steel was welded in, overlapping the barge hull to give an eventual box-section around all of the open edges. We did this with stitch welding to the inside and a constant bead to the outside (to keep it weather tight) – the opening will doubtless be changed before the project is finished but it’s all good practice for the final structure.
Progress was good and before we knew it it was time to take out the final section connecting the two separate sides of the doorway together. This we duly did by cutting it through before clobbering it with a mighty blow (!!) from the sledge hammer, leaving a completely open doorway into our future home for the first time.
We finished off this part of the works by knocking-up a ramp either side of the doorway out of reclaimed decking so access is now a breeze. The doorway opening itself may look to be rather high on the side of the barge but it has to allow for the eventual floor structure, insulation, etc. of the finished internal build.
